Your cart is currently empty!

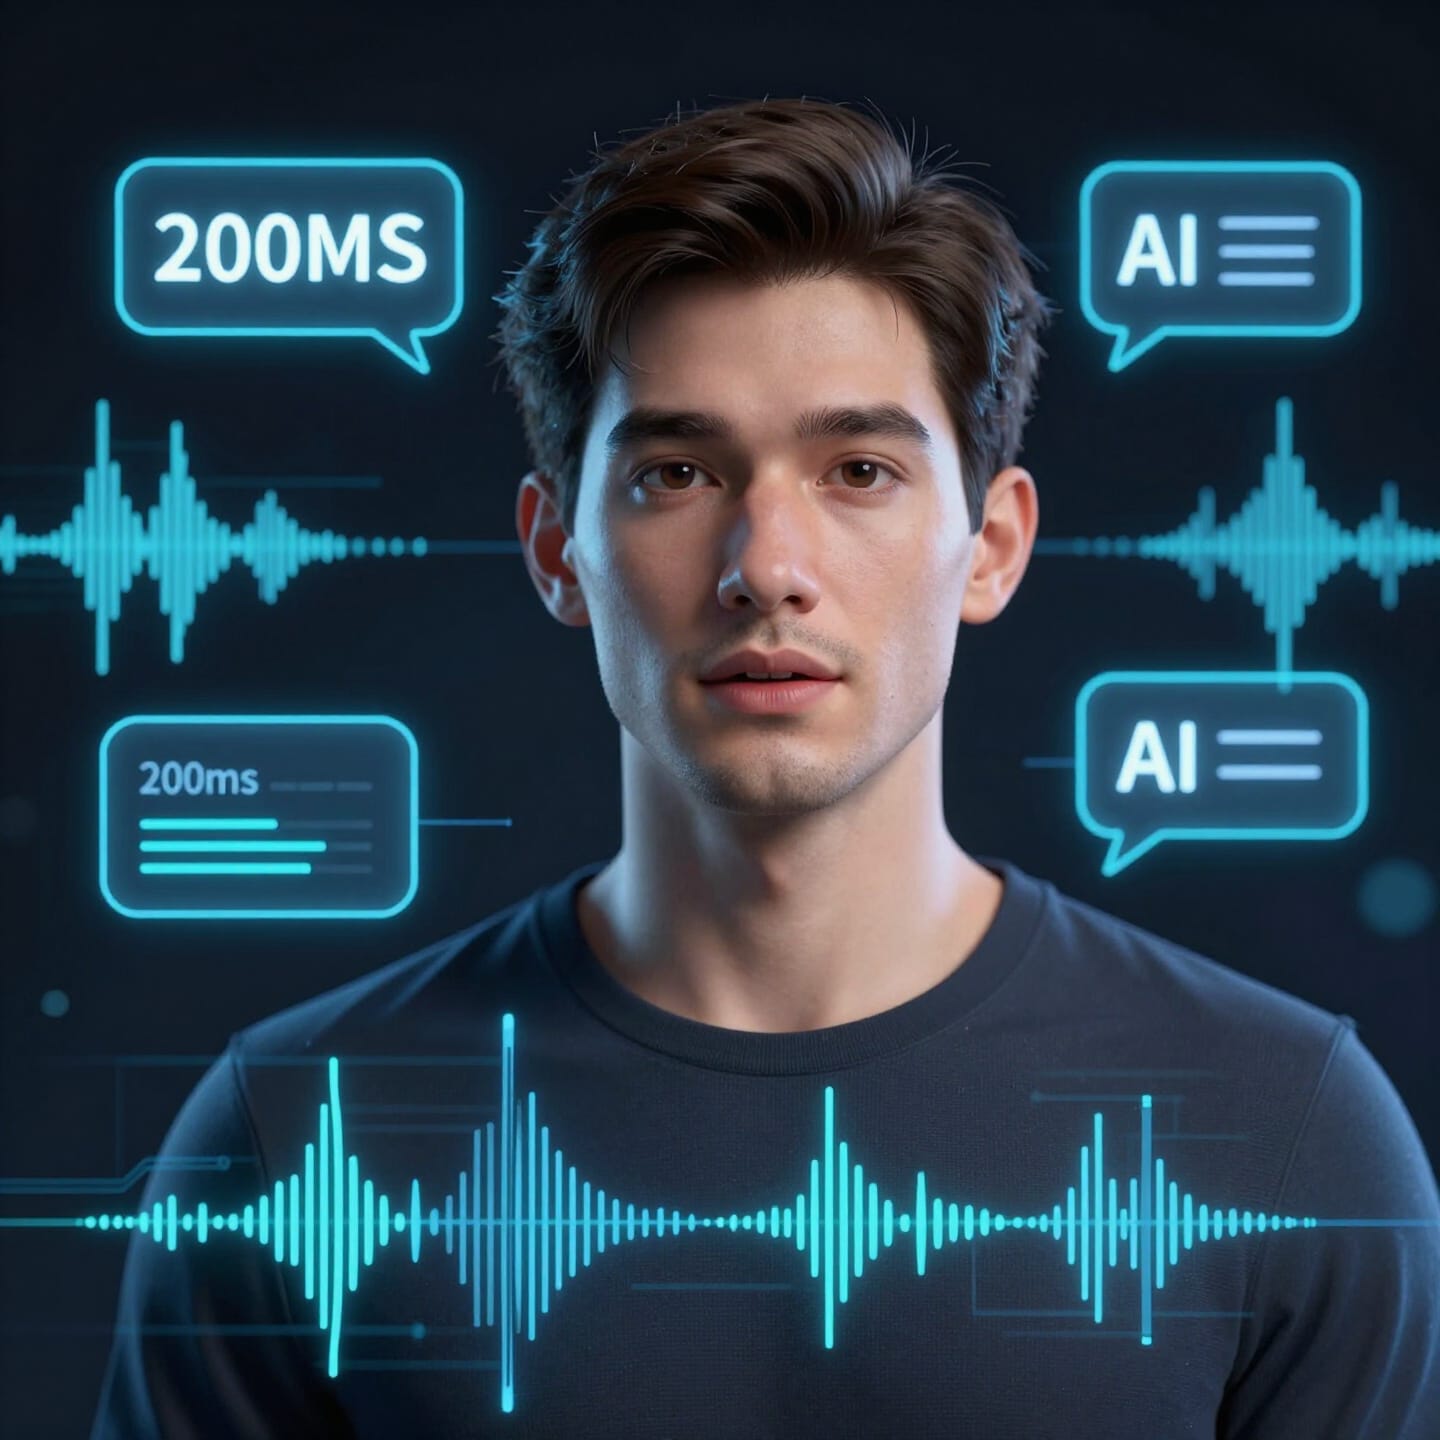
1. Response Speed Performance
Let’s get straight to the point by looking at the actual response speed performance:
In the live demo, we achieved an end-to-end latency of under 200 ms for the initial audio processing — from the user finishing their speech to the AI processing, generating the video, and displaying it on the front end, all within approximately 200 ms. Currently, this response speed is highly advanced compared to other real-time digital human systems.
2. Overall Latency Before Optimization
We conducted detailed tests on MuseTalk’s real-time performance in the A100 GPU environment:
1. When testing with 0.5-second real-time audio input, the processing time exceeded 0.5 seconds, failing to meet real-time requirements. As shown in the video below:
2. Upon adjusting the FPS to 18, the processing speed for real-time audio input improved by about 0.2 seconds. However, further FPS reduction to below 15 is required to meet real-time expectations.
3. After increasing the batch size, the processing time actually increased, reaching the chip’s processing limit.
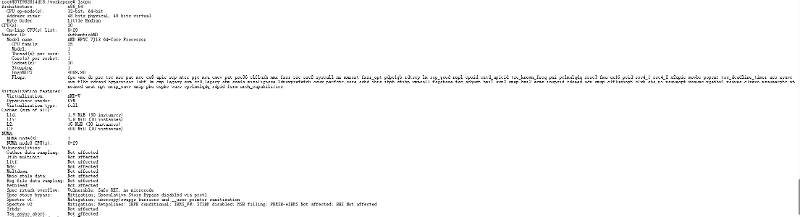
The root cause of the issue lies in the A100 GPU, which uses AMD chips by default. These chips are slower than Intel chips in computer vision tasks, such as image processing. Specifically, the system uses the AMD EPYC 7J13 64-Core Processor with 30 cores, which is suited for virtualization and high-concurrency tasks but underperforms in some image processing tasks compared to Intel processors. Unfortunately, most GPU cloud providers are equipped with AMD chips.
I initially encountered this problem, which limited performance optimization. Later, I had an idea: Could we leverage the GPU for image processing tasks, thereby breaking through the current performance bottleneck? This thought led to a series of optimization steps.
3. GPU-Accelerated Image Processing Optimization
3.1 Optimization Approach
To address the performance bottleneck of AMD chips in image processing, the core idea was to move the image processing operations, originally executed on the CPU, to the GPU, taking full advantage of the GPU’s parallel computing capabilities. In MuseTalk’s inference process, the following image processing steps were executed on the CPU:
1. Data Conversion After VAE Decoding: The decoded result from the GPU tensor is converted to a numpy array, incurring GPU → CPU data transfer overhead.
2. Image Resize: Image resizing is performed on the CPU using OpenCV’s cv2.resize().
3. Image Sharpening: Image sharpening is done on the CPU using OpenCV and NumPy with an Unsharp Mask operation.
4. Image Blending: Image composition and blending are handled on the CPU using PIL.
Although each operation individually takes a small amount of time, the cumulative latency becomes significant in a real-time processing scenario. More importantly, these operations can be accelerated using the parallel computing power of the GPU.
3.2 Technical Implementation
3.2.1 Creating a GPU Image Processing Tool Library
First, I created a dedicated GPU image processing tool library musetalk/utils/gpu_image_processing.py, implementing the following core functions:
▪️ gpu_resize(): Uses PyTorch’s F.interpolate() for GPU-based image resizing.
▪️ gpu_gaussian_blur(): Implements GPU-based Gaussian blur using PyTorch’s F.conv2d().
▪️ gpu_unsharp_mask(): Performs image sharpening on the GPU using GPU-based Gaussian blur.
▪️ gpu_image_blending(): GPU-based image blending using tensor operations.
These functions support multiple input formats ([H, W, C], [B, H, W, C], [B, C, H, W]) and automatically handle data format conversions, ensuring ease of use. Based on modifications in the processing.py file, all image processing tasks were migrated to the GPU.
3.2.2 Optimizing VAE Decoding Process
I modified the decode_latents() method in musetalk/models/vae.py, adding a return_tensor parameter:
def decode_latents(self, latents, return_tensor=False):
    # ... decoding logic ...
    if return_tensor:
        # Return a GPU tensor to avoid GPU → CPU transfer
        image = image.permute(0, 2, 3, 1)  # [B, H, W, C]
        image = image * 255.0
        image = image[..., [2, 1, 0]]  # Convert RGB to BGR
        return image
    else:
        # Original behavior: return a NumPy array
        image = (
            image.detach()
                 .cpu()
                 .permute(0, 2, 3, 1)
                 .float()
                 .numpy()
        )
        # ...
        return image
With return_tensor=True, the data stays on the GPU, avoiding unnecessary data transfer.
3.2.3 Refactoring the Real-Time Inference Process
In scripts/realtime_inference.py, I refactored the process_frames() method to add a GPU processing path:
Key changes:
▪️ Image Resize Optimization
# Original: CPU-based processing
res_frame = cv2.resize(
    res_frame.astype(np.uint8),
    (x2 - x1, y2 - y1)
)

# Optimized: GPU-based processing
res_frame_gpu = gpu_resize(
    res_frame,
    (y2 - y1, x2 - x1),
    mode='bilinear'
)
▪️ Image Sharpening Optimization
# Original: CPU-based processing (OpenCV + NumPy)
res_frame = apply_unsharp_mask(
    res_frame,
    amount=1.2,
    sigma=1.0,
    threshold=5.0
)

# Optimized: GPU-based processing
res_frame_gpu = gpu_unsharp_mask(
    res_frame_gpu,
    amount=1.2,
    sigma=1.0,
    threshold=5.0
)
▪️ Image Blending Optimization
# Original: CPU-based processing (PIL)
combine_frame = get_image_blending(
    ori_frame,
    res_frame,
    bbox,
    mask,
    mask_crop_box
)

# Optimized: GPU-based processing
body_tensor = numpy_to_tensor_gpu(ori_frame, device)
face_tensor = res_frame_gpu  # Already on GPU
mask_tensor = numpy_to_tensor_gpu(mask, device)

combine_frame_tensor = gpu_image_blending(
    body_tensor,
    face_tensor,
    bbox,
    mask_tensor,
    mask_crop_box,
    device
)

combine_frame = tensor_to_numpy_cpu(combine_frame_tensor)
The entire process uses an automatic fallback mechanism: if GPU processing fails, it falls back to CPU processing to ensure system stability.
3.3 Performance Improvement Results
After optimization, we tested the system in an AMD EPYC 7J13 processor + A100 GPU environment:
3.3.1 Performance Improvement Data
| Operation | CPU Time | GPU Time | Speedup |
|---|---|---|---|
| Image Resize | 5–10 ms | 1–2 ms | 5–10x |
| Image Sharpening | 8–15 ms | 2–4 ms | 3–5x |
| Image Blending | 10–20 ms | 3–5 ms | 3–5x |
| VAE Decoding (No Transfer) | — | — | Saves transfer time |
3.3.2 Overall Effect
Before Optimization:
▪️ 0.5-second audio input required more than 0.5 seconds processing time.
▪️ Did not meet real-time requirements.
▪️ FPS needed to be reduced to below 15 to barely achieve real-time.
After Optimization:
▪️ Image processing speed improved by 3–5 times.
▪️ End-to-end latency controlled under 200 ms.
▪️ Successfully achieved real-time response with significantly improved user experience.
3.4 Why GPU Acceleration is Effective?
1. Flexible Computing Precision: GPUs support float32/half precision, allowing flexible balancing between precision and speed.
2. Parallel Computing Advantage: Image processing tasks (such as resizing, convolution, and blending) are inherently parallel, and GPUs, with their thousands of cores, are well-suited for these tasks.
3. Memory Bandwidth: The memory bandwidth of GPU video memory is far higher than the bandwidth between the CPU and main memory, eliminating data transfer bottlenecks.
4. MuseTalk Docker Deployment Record
4.1 Build and Push Image
4.1.1 Rebuild Image
docker build -t xxx/musetalk:latest .
4.1.2 Push New Image to Docker Hub
docker push xxx/musetalk:latest
Note: You need to log in to Docker Hub before pushing:
docker login
4.2 Remove and Pull Image
4.2.1 Stop and Remove Old Container
sudo docker rm -f musetalk
4.2.2 Pull Latest Image
sudo docker pull xxx/musetalk:latest
4.3 Run Container
4.3.1 Start New Container
sudo docker run -d \
  --name musetalk \
  --gpus all \
  --restart unless-stopped \
  -p 2160:2160 \
  gavana2/musetalk:latest
Explanation of Parameters:
▪️ -d: Run in detached mode (background).
▪️ –name musetalk: The container name.
▪️ –gpus all: Use all available GPUs (requires installation of nvidia-container-toolkit).
▪️ –restart unless-stopped: Auto-restart policy (unless manually stopped).
▪️ -p 2160:2160: Port mapping (host port:container port).
Note: On the first run, it will automatically download models from HuggingFace to the /workspace/models directory inside the container.
4.4 View Logs and Debug
4.4.1 Real-Time Logs
sudo docker logs -f musetalk
4.4.2 Check Container Status
sudo docker ps
sudo docker ps -a
sudo docker stats musetalk
4.5 Container Operations
4.5.1 Enter Container
sudo docker exec -it musetalk /bin/bashExplanation: The -it parameter specifies interactive mode, and /bin/bash is the command executed to enter the container.
4.5.2 Fix CRLF Issue in Filenames
# Enter the container
sudo docker exec -it musetalk /bin/bash

# Navigate to the target directory
cd /workspace

# One-time fix for all filenames containing CRLF
for f in *$'\r'; do mv "$f" "${f%$'\r'}"; done
4.5.3 Create Directories and Copy Files
If you encounter issues with filenames containing carriage return characters (\r), you can execute the following in the container:
mkdir -p /workspace/silent/sk_navtalk_xxx/girl

# Copy the avatars directory
cp -r /workspace/results/sk_navtalk_xxx/v15/avatars \
      /workspace/silent/sk_navtalk_xxx/

# Copy all files from the full_imgs folder
cp -r /workspace/results/sk_navtalk_xxx/v15/avatars/girl/full_imgs/* \
      /workspace/silent/sk_navtalk_xxx/girl/
4.6 Analyze GPU Usage
nvidia-smi -l 1

Leave a Reply