Your cart is currently empty!


1. Introduction
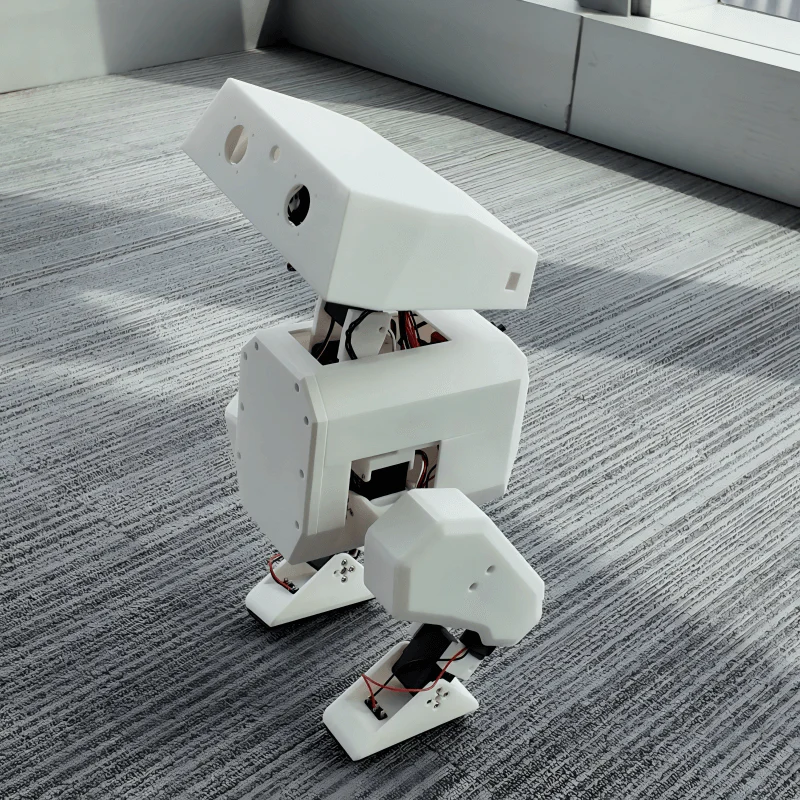
As someone with no prior hardware experience , I embarked on an ambitious project: building a functional wheel-legged robot using pre-fabricated 3D-printed components and open-source resources. This guide focuses on assembly, calibration, and programming—perfect for developers eager who want to dive directly into robotics.
Why Wheel-Legged Robots Are Perfect for Robotics Beginners
If you’re new to robotics and looking for a fun, challenging, and highly educational project, a wheel-legged robot is an excellent choice. Combining the simplicity of wheels with the versatility of legs, these hybrid robots offer a hands-on way to learn key concepts in mechanics, electronics, and programming—without requiring advanced expertise.
Why Start with a Wheel-Legged Robot?
- Balanced Learning Curve
- Wheels make it easier to get started (simple control, stable movement).
- Legs introduce you to gait planning and balance algorithms (more advanced but rewarding).
- Real-World Applications
- Wheel-legged designs are used in delivery robots, exploration drones, and even Mars rovers, making your skills directly transferable.
- Low Cost, High Flexibility
- Unlike full bipedal robots, wheel-legged bots can be built cheaply with 3D-printed parts, ESP32, and digital servos.
Key Components for Your Build
1. ESP32: The Brain
- Why?
- Built-in Wi-Fi/Bluetooth enables remote control (e.g., via smartphone) and IoT integration.
- Dual-core processor handles sensor fusion (IMU data) and motor control simultaneously.
- PWM support for precise servo/motor driving.
- Example Use:
// Read IMU data for balance control
if (imu.getPitch() > 15) {
  adjustLegServos(); // Prevent tipping
} 2. Hardware Preparation
2.1 Components Checklist
• Pre-cut carbon fiber chassis
• 2x STS3032 servos with pre-installed spline adapters
• TMCM-6210 BLDC motors (with pre-calibrated encoders)
• Nylon leg components
2.2 Tools
• M3 Hex Screwdriver Set
• Digital Torque Wrench (0.2–2.5 N·m range)

3. Step-by-Step Assembly
3.1 Baseplate & Counterweight
Secure the carbon fiber baseplate and CNC counterweight block using M3×8mm screws

3.2 Servo Mounting
- Attach short brass spacers to the servo connection module.
- Mount servos (STS3032) onto the CNC module, aligning the output shafts outward.
- Scure the baseplate with M2.5×10mm screws.


3.3 Mainboard Installation
• Use long brass spacers (front) and short spacers (rear) to mount the ESP32 mainboard.
• Embed the nut into 3D-printed leg connector and assemble it with a carbon fiber using screws.
• Secure the carbon fiber side panels using M3×6mm screws.


3.4 Wheel Hub Installation
• Install the 3D-printed wheel hub and tire onto a brushless motor.
• Attach the 3D-printed wheel hubs to motor shafts using M4×8mm grub screws.
• Warning: Align shaft flats within ±0.2mm to prevent slippage.


3.5 Encoder Board Setup:
• Attach the magnet to the white 3D-printed connecting post
• Install the post onto the green position of the motor (as shown in the figure).Glue for enhanced stability if needed
• Enlarge the screw holes on the nylon-sintered leg parts (due to minor size mismatches) and attach the encoder boards.


3.6 Leg-Motor Connection
• Install the metal connecting column into the leg part and mount the bearing onto the column as shown in the picture.
• Insert nuts into the designated slots
• Install the servo arm into the leg component and connect the leg assembly to the indicated position in the picture.
• Note: Longer tire fenders should face backward for obstacle clearance.


• Attach the legs to the brushless motors.
• Slide sleeves onto screws, mount bearings onto the sleeves, and fix them to the support structure.


4. Software & Calibration
click here to download tool and supply
4.1 Servo Zero-Position Calibration
Tools
• Arduino IDE 2.3.4
• FD Calibration Tool
Steps
1) Install Arduino IDE and the esp32 version2.0.3.

2) Open SteeringEngineDebug.ino (located in /Tools/SteeringEngineDebug) to Upload Calibration Code.
3) Turn on the power switch before connecting to the computer.

4) Select ESP32 Dev Module and upload.


5) Physical Setup:
• Open FD.exe (located in /Navbot-EN01/Tools/FD1984-240227).
• Place the robot on a support block.
• Disconnect one servo cable to avoid ID conflicts, and calibrate them one by one.


6) Calibration via FD:
• In the FD software, select the port number, set the baud rate, connect, and search for servos. As shown in the figure, ‘STS3032’ corresponds to the left leg servo of the robot.When connecting the right leg servo, set its ID to 2.
• After completing the zero-position calibration for the two leg servos of the robot, reconnect the servo cables properly


5. Firmware Deployment
5.1 Dependency Installation
1) Open the project source code located at \Navbot-EN01\Src\wl_pro_robot in Arduino IDE.
2) Install dependencies located at \Navbot-EN01\Src\libraries,selecting the library files one by one.


3) Since the compiled program is large, use the “No OTA (Large APP)” partition scheme to ensure it uploads correctly.

4) Select ESP32 Dev Module and click Upload.


6. Testing & Control
6.1 Power-On Sequence
1) Insert 7.4V LiPo Battery into the XT30 port.

2) After toggling the switch, the robot will light up a red LED to indicate startup, then begin self-testing for a few seconds.
3) Connect your smartphone to the WiFi network named navbot_en01- XXXXXX(password: 12345678).
4) After successfully connecting to WiFi, access the robot’s control interface by entering the IP address 192.168.1.11 in your web browser.

6.2 Activation:
Click Robot Go and manually lift the robot – it self-balances within 2 seconds.


7. Critical Debugging Tips
| Issue | Diagnosis | Solution |
|---|---|---|
| Servo Jitter | Baud rate mismatch | Set #define SERVO_BAUD 115200 |
| Legs Not Aligning | Spline mispositioning | Re-seat leg on servo spline |
| WiFi Disconnection | RF interference | Relocate antennas away from motors |
| Motor Stuttering | Encoder misalignment | Adjust magnet gap to 0.8–1.2mm |
8. Performance Metrics
| Action | Current Draw (A) | Latency (ms) |
|---|---|---|
| Idle | 0.12 | N/A |
| Linear Motion (1m/s) | 2.75 | 18.4 |
| 90° Pivot Turn | 3.20 | 21.1 |
| Obstacle Climb (5cm) | 4.10 | 22.7 |
9. Resources
GitHub repository:https://github.com/fuwei007/Navbot-EN01
Hardware Purchasing: https://navbot.com/en/product/navbot-en01/
Assembly Tutorial Videos:DIY Education Nano 01 – Modular Wheel-Leg Robot for STEM
Video Demo:
Building Your Own ESP32 Two Wheel-Legs Robot: Final Result – Demo
Try it yourself—all files are linked above! Questions? Drop them in the comments.
👉 Subscribe for Robotics Deep Dives: YouTube/@frankfu007


Leave a Reply