Your cart is currently empty!

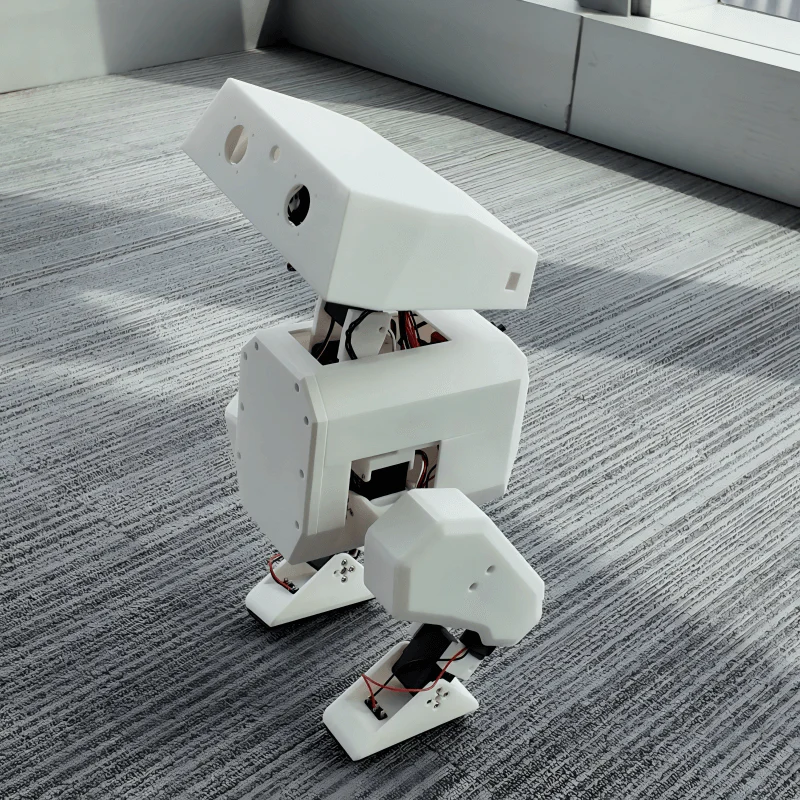
Desktop Balancing Bot(ES02)-Dual-Wheel Legged Robot with High-Performance Algorithm
BY

1. Introduction
This ES02 robot provides an advanced, practical platform for learners to implement, test, and validate various complex algorithms, particularly enabling in-depth learning of advanced technologies such as Field-Oriented Control (FOC) for motor driving. Learners can systematically explore the field of robotic control, gaining hands-on experience that bridges theoretical concepts with their real-world applications. Ideas and hypotheses formed during study can be promptly tested and refined on this robot, ensuring a smooth transition from theoretical knowledge to practical engineering expertise.
The Role of Balance Algorithms in Wheel-Legged Robots
Wheel-legged robots, which combine the agility of legs with the speed and efficiency of wheels, rely heavily on real-time balance algorithms to maintain stability during dynamic motion. Whether traversing rough terrain, climbing stairs, or switching between rolling and walking modes, these algorithms ensure smooth and controlled movement.
Why Balance Control Matters
- Adaptive Stability
- Robots must constantly adjust their center of mass (CoM) to prevent tipping, especially when transitioning between gaits or encountering uneven surfaces.
- Example: A robot rolling downhill on wheels may need to shift its posture or deploy legs to avoid toppling.
- Motion Smoothing
- Balance algorithms filter sensor noise (e.g., from IMUs or force sensors) to avoid jerky movements.
- Techniques like PID control or Kalman filters correct deviations in real time.
- Energy Efficiency
- By optimizing weight distribution, robots minimize unnecessary motor effort, extending battery life.
Key Techniques
- Inertial Measurement (IMU): Tracks orientation (roll/pitch/yaw) to detect imbalances.
- Reactive Control: Adjusts wheel/leg torque dynamically (e.g., slowing wheels when leaning too far forward).
- Zero-Moment Point (ZMP): Used in bipedal robots to ensure ground contact forces stay within stability margins.
Example Implementation
- A simple PID-based balance controller on an ESP32 might:
- Read IMU data (e.g., MPU6050).
- Calculate error between current and target angles.
- Adjust motor speeds (via PWM) to counteract tilt.
// Pseudocode for PID balance control
float error = targetAngle - currentAngle;
float correction = Kp * error + Ki * integralError + Kd * (error - lastError);
setMotorSpeed(baseSpeed + correction);
2. Bill of Materials
| Component | Qty | Notes |
|---|---|---|
| ESP32 Dev Board | 1 | Any ESP32 module with multiple PWM pins |
| SG90 Servo Motors | 4 | Two per leg for 2-DOF motion |
| TT DC Motors | 2 | With wheels attached |
| L298N Motor Driver | 1 | Dual H-bridge driver for DC motors |
| Battery Pack (5V–7.4V) | 1 | LiPo or 18650 holder and BMS |
| Jumper Wires & Connectors | As needed | For all signal and power connections |
| 3D-Printed Chassis | 1 | STL files available in repo |

3. Assemble Steps
1)Mount the four servo motors securely onto the 3D-printed base plate.

2)Fit the battery holder into the designated slot on the 3D-printed base, and secure the mainboard bracket onto the base plate.

3)Install the mainboard onto the bracket, paying close attention to its orientation to ensure correct connections.

4)Connect the servo wires and power cables, verifying each connection is accurate and tidy.

5)Reserve a 3-pin cable specifically for connecting the remote control signal receiver later..

6)Install the radial magnet into the 3D-printed part and glue it to the brushless motor using metal glue.

7)Install the leg connectors, ensuring secure attachment and smooth movement.

8)Fit the tire onto the foot part, ensuring proper alignment and secure attachment.

9)Assemble the foot 3D-printed part, brushless motor, and encoder together.

10)Install bearings and thrust bearings on both sides of the leg joint component, ensuring smooth and resistance-free rotation.

11)Connect the leg joint component securely to the previously assembled foot assembly, confirming stable and free joint motion.

12) Attach the fully assembled leg units to the robot’s main body, verifying symmetry and structural stability.

13)Connect encoder and foot motor wires to the mainboard, confirming secure and accurate connections.

14)Attach the body cover and neatly organize internal wiring, ensuring neatness and that wires do not interfere with moving parts.

15)Mount the touch controller onto the capacitive screen bracket.

16)Attach the capacitive screen bracket with the mounted touch controller securely onto the robot’s main body, ensuring precise positioning.

17)Install the capacitive touchscreen, confirming its secure attachment and correct positioning for ease of use.


4. Software & Calibration
4.1 Install the development environment
1)Open the Arduino IDE and install the ESP32 platform version 3.0.7 using the Boards Manager.

2)In the Library Manager, search for and install SimpleFOC version 2.3.4 and SimpleFOCDrivers version 1.0.8.

3)Search for and install the Preferences library version 2.1.0.

4.2 Select the development board and ports
Select “ESP32S3 Dev Module” as the board, choose the correct COM port, and upload the code to the device.

4.3 Calibration process (Serial port instructions)
1)Open the Serial Monitor, set the baud rate to 250000, type E1 and press Enter to calibrate the gyroscope.

2)Type E2 and press Enter to calibrate the angle offset — the device must be placed flat and level; successful calibration will display the angle data.

3)Type E3 and press Enter to enter servo calibration mode — servos A, B, C, and D will respond according to the setup shown in the diagram.


4)Fine-tune each servo by typing commands like A5 or A-3, then press Enter — this will adjust servo A’s angle incrementally.

5) Type E0 and press Enter to exit calibration mode, or simply restart the device to apply the changes.

5. Resources:
GitHub repository:https://github.com/fuwei007/Navbot-ES02
Hardware Purchasing: https://navbot.com/en/product/navbot-es02
Show Video:
Balance algorithms transform wheel-legged robots from fragile prototypes into robust machines capable of real-world navigation. By merging feedback control with mechanical design, they enable autonomous recovery from falls, seamless gait transitions, and human-like adaptability—paving the way for applications in logistics, search-and-rescue, and beyond.
Future Directions: Machine learning (e.g., reinforcement learning) could further refine balance strategies for unpredictable environments.
Try it yourself—all files are linked above! Questions? Drop them in the comments.
👉 Subscribe for Robotics Deep Dives: YouTube/@frankfu007


Leave a Reply